
This guide walks through setting up photo types so they match the way you actually shoot — from the order at the chair to the folder names.
The recording is narrated in Czech and the on-screen app is in Czech. The written guide below covers the same ground in English and is the primary version here — an English recording is planned.
The player is loaded from YouTube (Google Ireland Ltd.) only after you click. Nothing is sent to Google before that. Once you click, Google receives your IP address, your device and browser data, and may write its own storage to your browser. Details in the cookie policy.
 3:09
3:09
Stops further loading; what has already been sent cannot be recalled. Open on YouTube (opens YouTube, so Google sees the visit) Video not appearing? Some clinic networks block YouTube — use the link beside this, or read the written guide below.
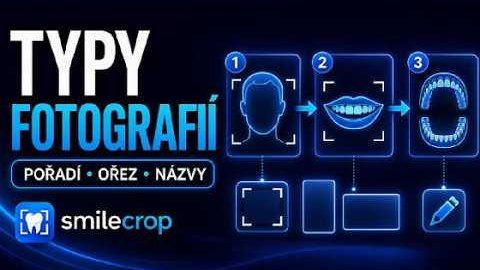
You define the order your practice shoots in, and change it by dragging. The app uses it as a hint when it is unsure — when the model cannot tell a left side from a right one, the position in the series settles it. The same order is used to sort the contact sheet.
Each photo type can keep its own amount of room around the subject. Changing it alters nothing retroactively — the defaults stay as they were until you adjust them yourself.
Type names can be rewritten to whatever you call them in the practice — “front” rather than IO-front-closed. The name then flows through into file names and reports.
Any type can have its own ratio — 3:2, 9:16, 1:1 or one you enter. A type left on “Standard” is cropped as before. A custom ratio takes the standard crop as its basis and widens it: nothing is lost from the photo, only surroundings are added. If the subject fills more of the frame than the chosen shape can hold, the app says so after the batch — shoot from further back, or pick a ratio closer to standard.
The formula is assembled from buttons — first name, surname, patient ID, date, time — so there is no syntax to memorise. A / creates a subfolder, and a preview shows the result immediately. Three ready-made layouts are one click away: one folder per patient, patient → visit date, or year → month → patient.